Having suffered from acne most of my life, obtaining perfect and glowy skin seemed almost impossible. From creams that would dry out my skin to foundations that would emphasize its flakiness, searching for products that give me a natural yet even complexion has always been a struggle. After years of trial and error, I think I have finally found my holy grail products that help me achieve the most flawless finish without looking like I have 3 layers of makeup on. My skincare routine has of course helped me a lot in this area, but today I will be sharing with you the steps I follow and products I use when applying my face makeup.
Step 1 ⇒ Prep the skin
The secret to having the most flawless application is to create a smooth canvas. It is an essential step that should never be skipped. I start by applying my moisturizer (I’ve currently been loving the Murad anti-aging moisturizer (with SPF 30) for the summer time). I then let it sit on my skin until it is fully absorbed. Next step is priming with my Urban Decay All Nighter setting spray. Typically meant to be the last step in your makeup routine, a lot of people don’t know that this spray can also be used before applying your makeup. It acts just like your regular liquid primer, but without the extra layer of cream or silicone that can sometimes feel quite heavy on the skin (especially during the warmer months).
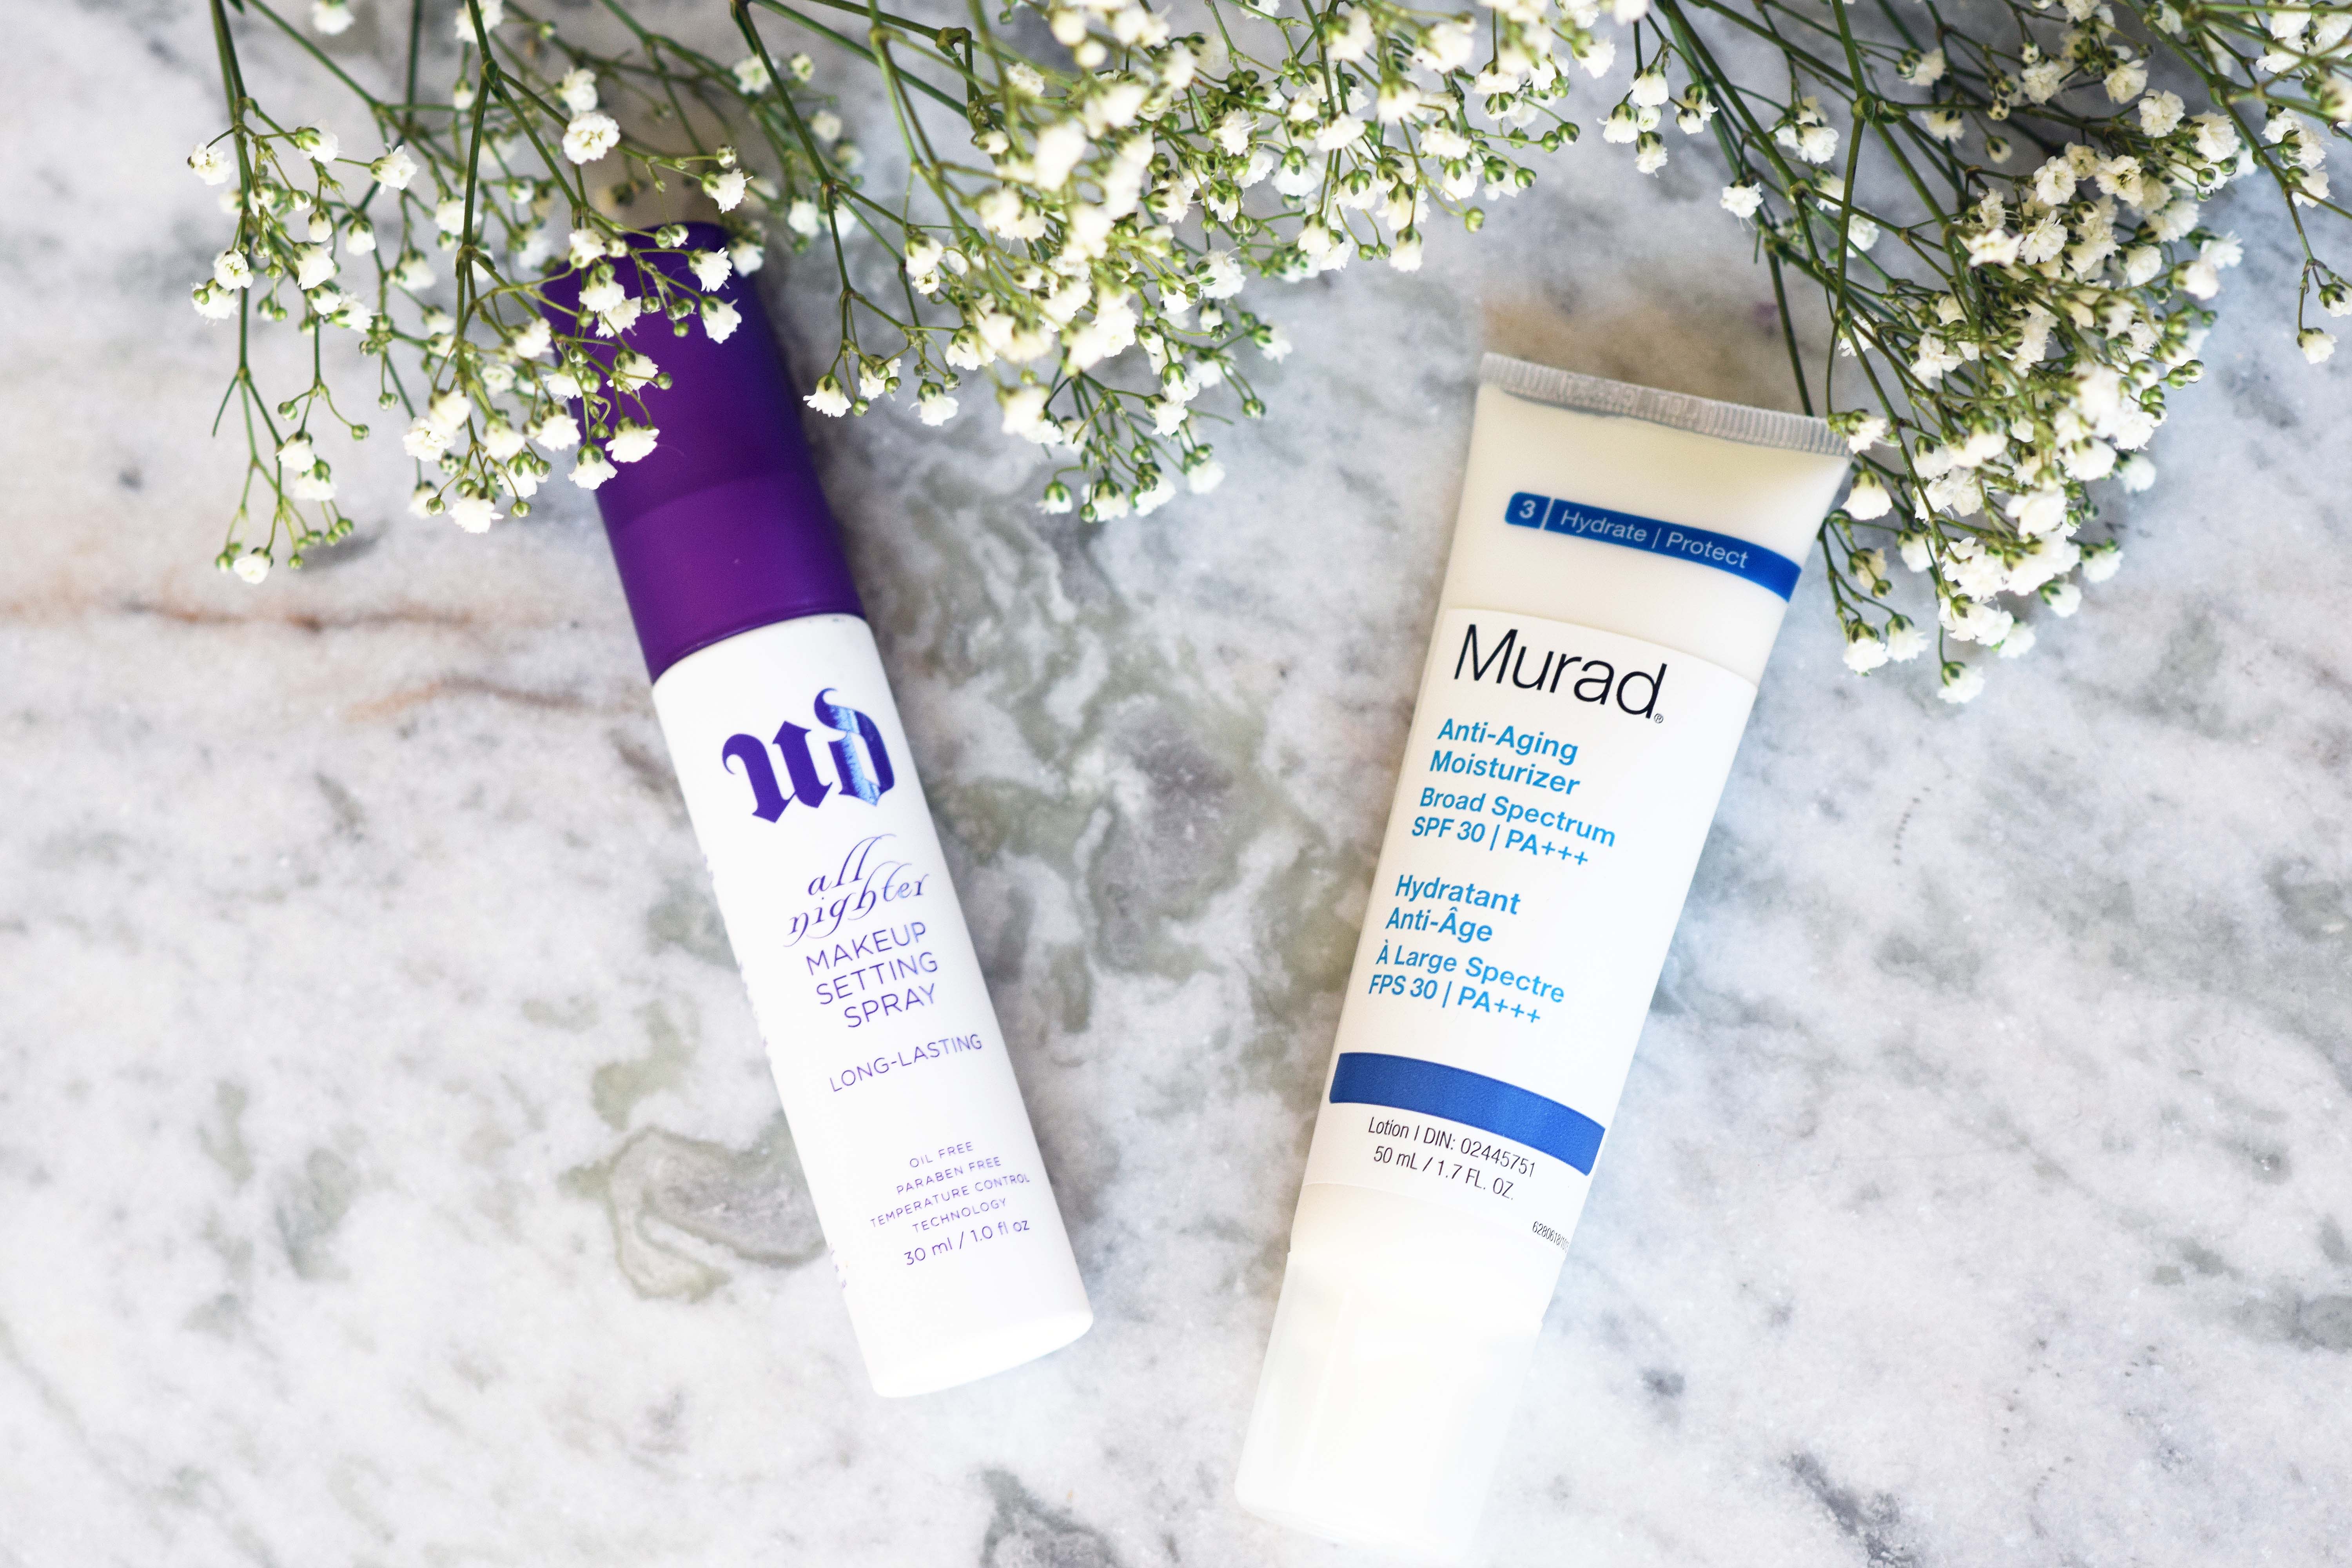
Urban Decay All-Nighter Makeup Setting Spray / Murad Anti-Aging Moisturizer
Step 2 ⇒ Foundation
I admit I got sucked into the hype surrounding this particular product. I had been using the YSL Touche Éclat foundation for years (which is still one of my favourite by the way), before I discovered the Giorgio Armani Luminous Silk. And let me tell you, purchasing this foundation is the best decision I’ve made! I apply it with a damp beauty blender and it leaves the most beautiful “skin-like” finish. I cannot recommend this product enough.
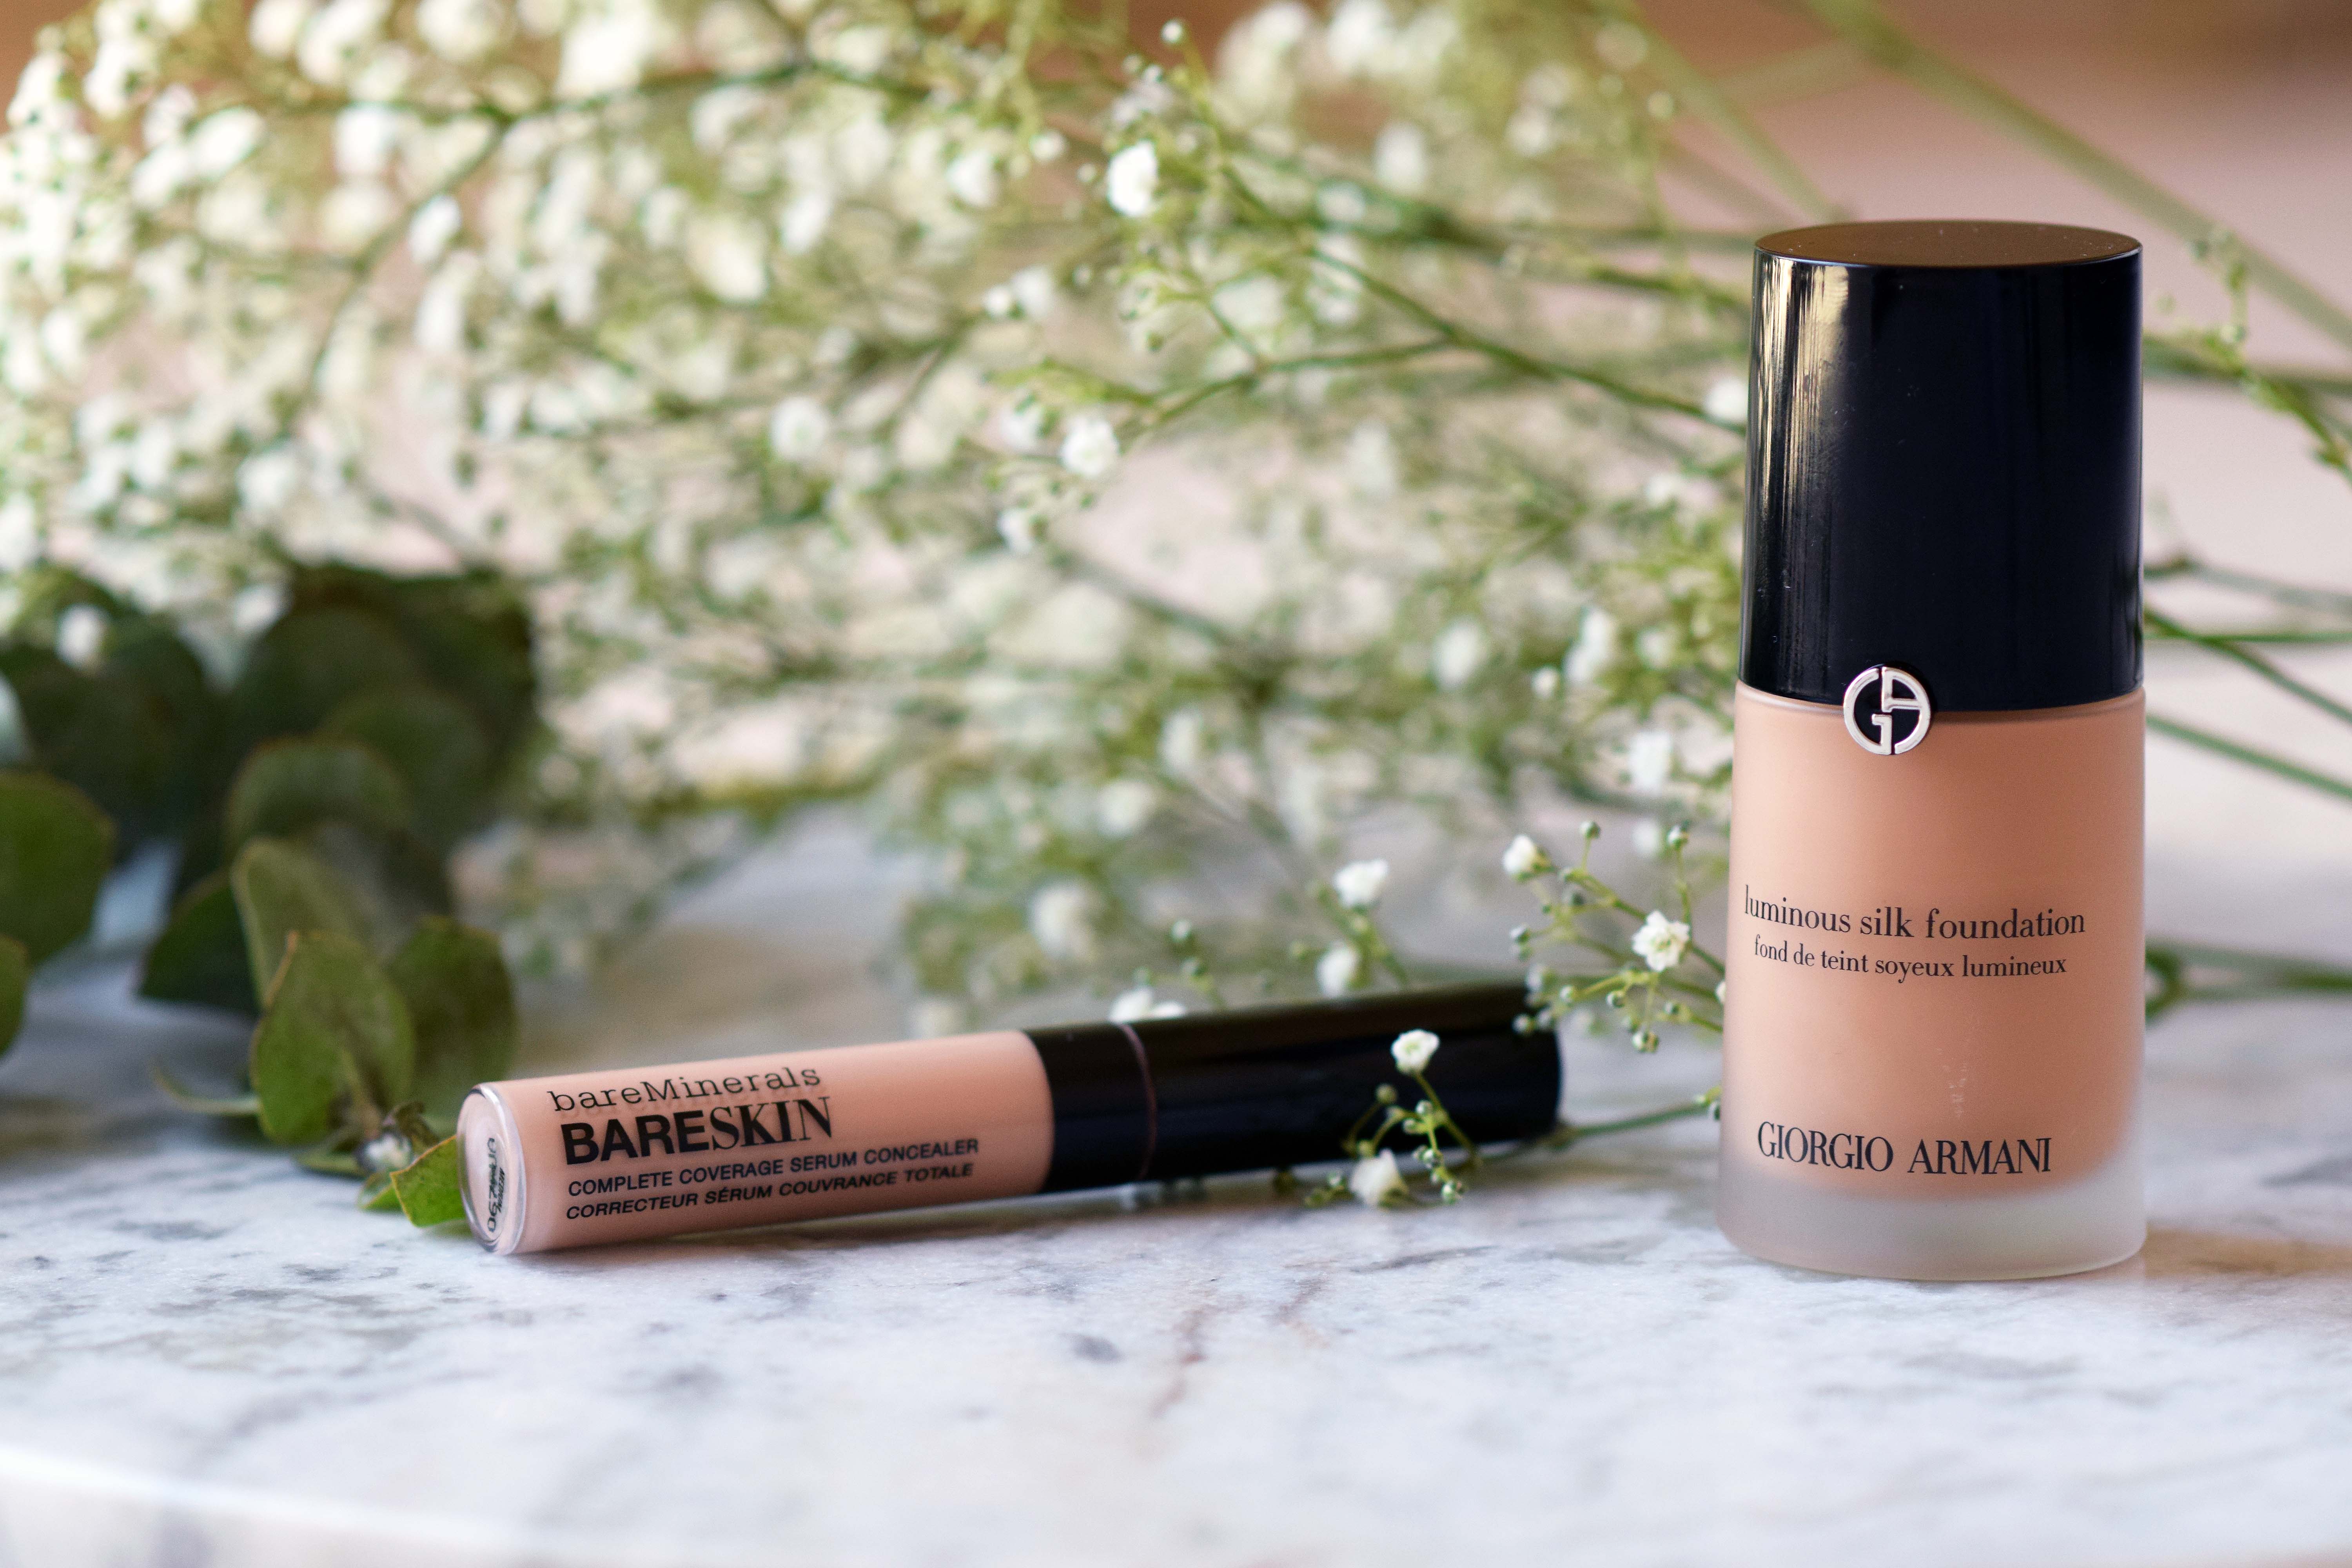
Giorgio Armani Luminous Silk Foundation (in shade 7)
Step 3 ⇒ Concealer
I then apply my Bare Minerals Bareskin concealer underneath my eyes. Although it is not full coverage, it blends extremely well and does not tend to crease. This concealer is perfect for anyone who has dry under eyes (like myself), since it does not accentuate any fine lines.
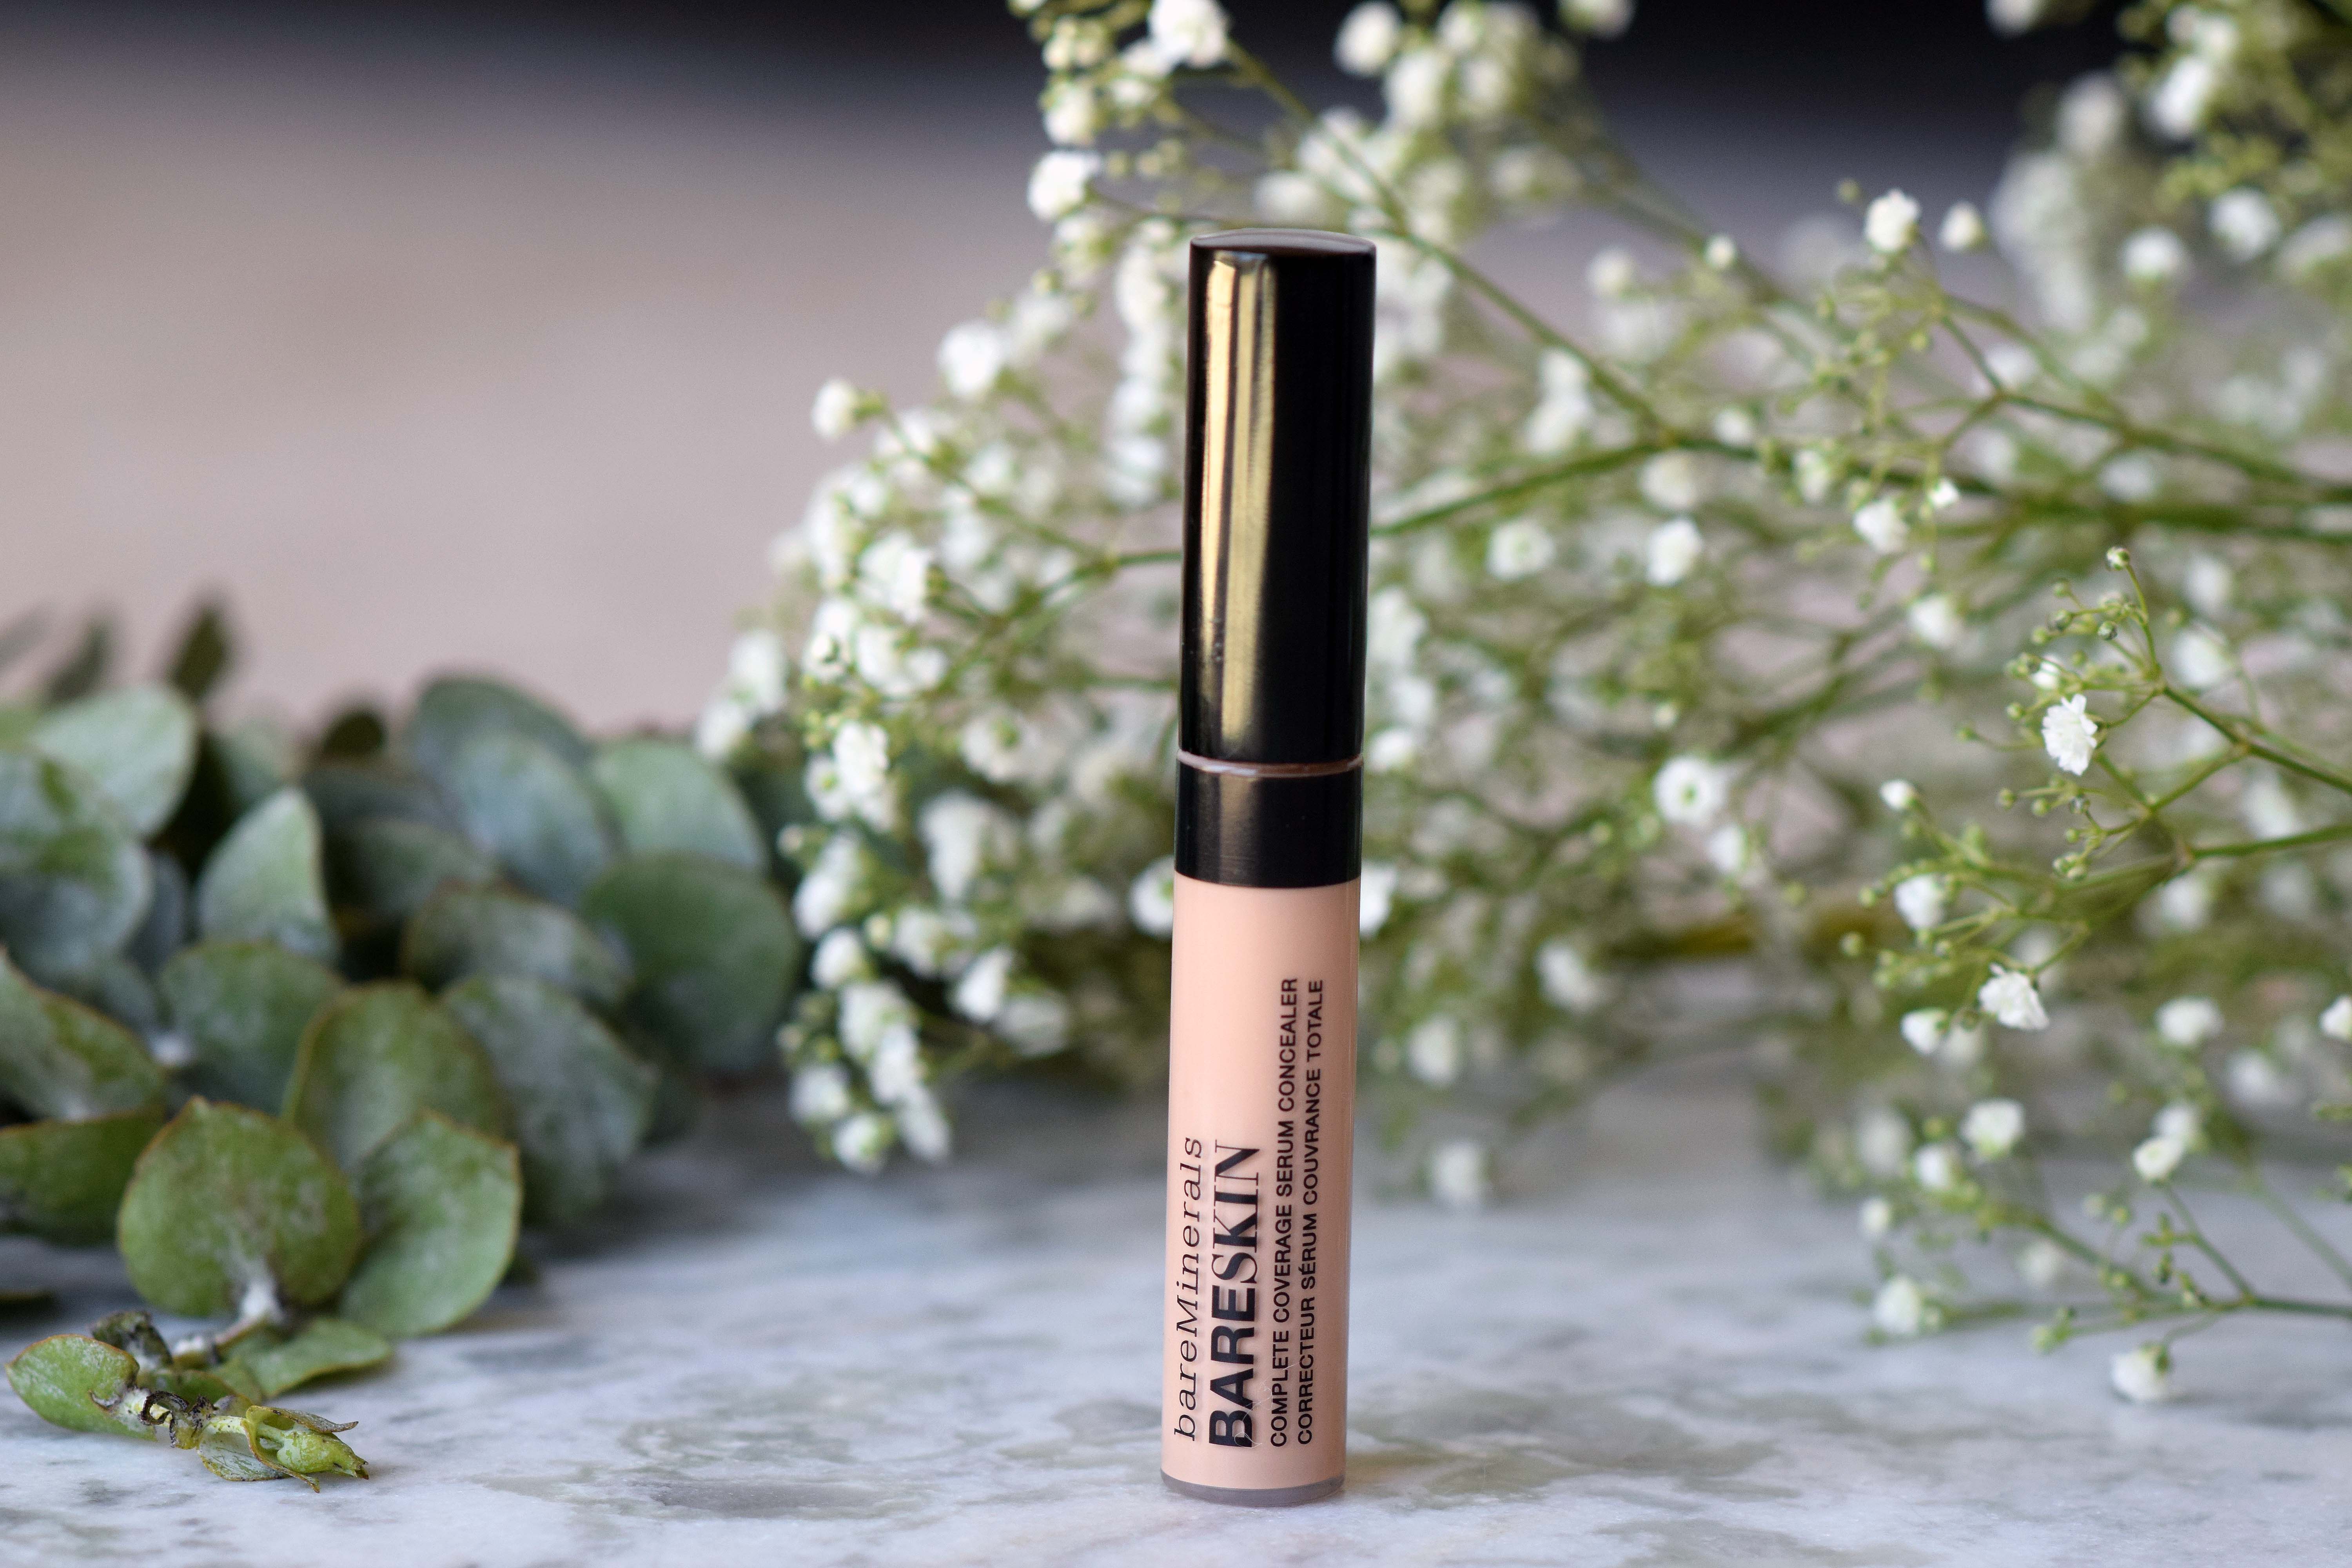
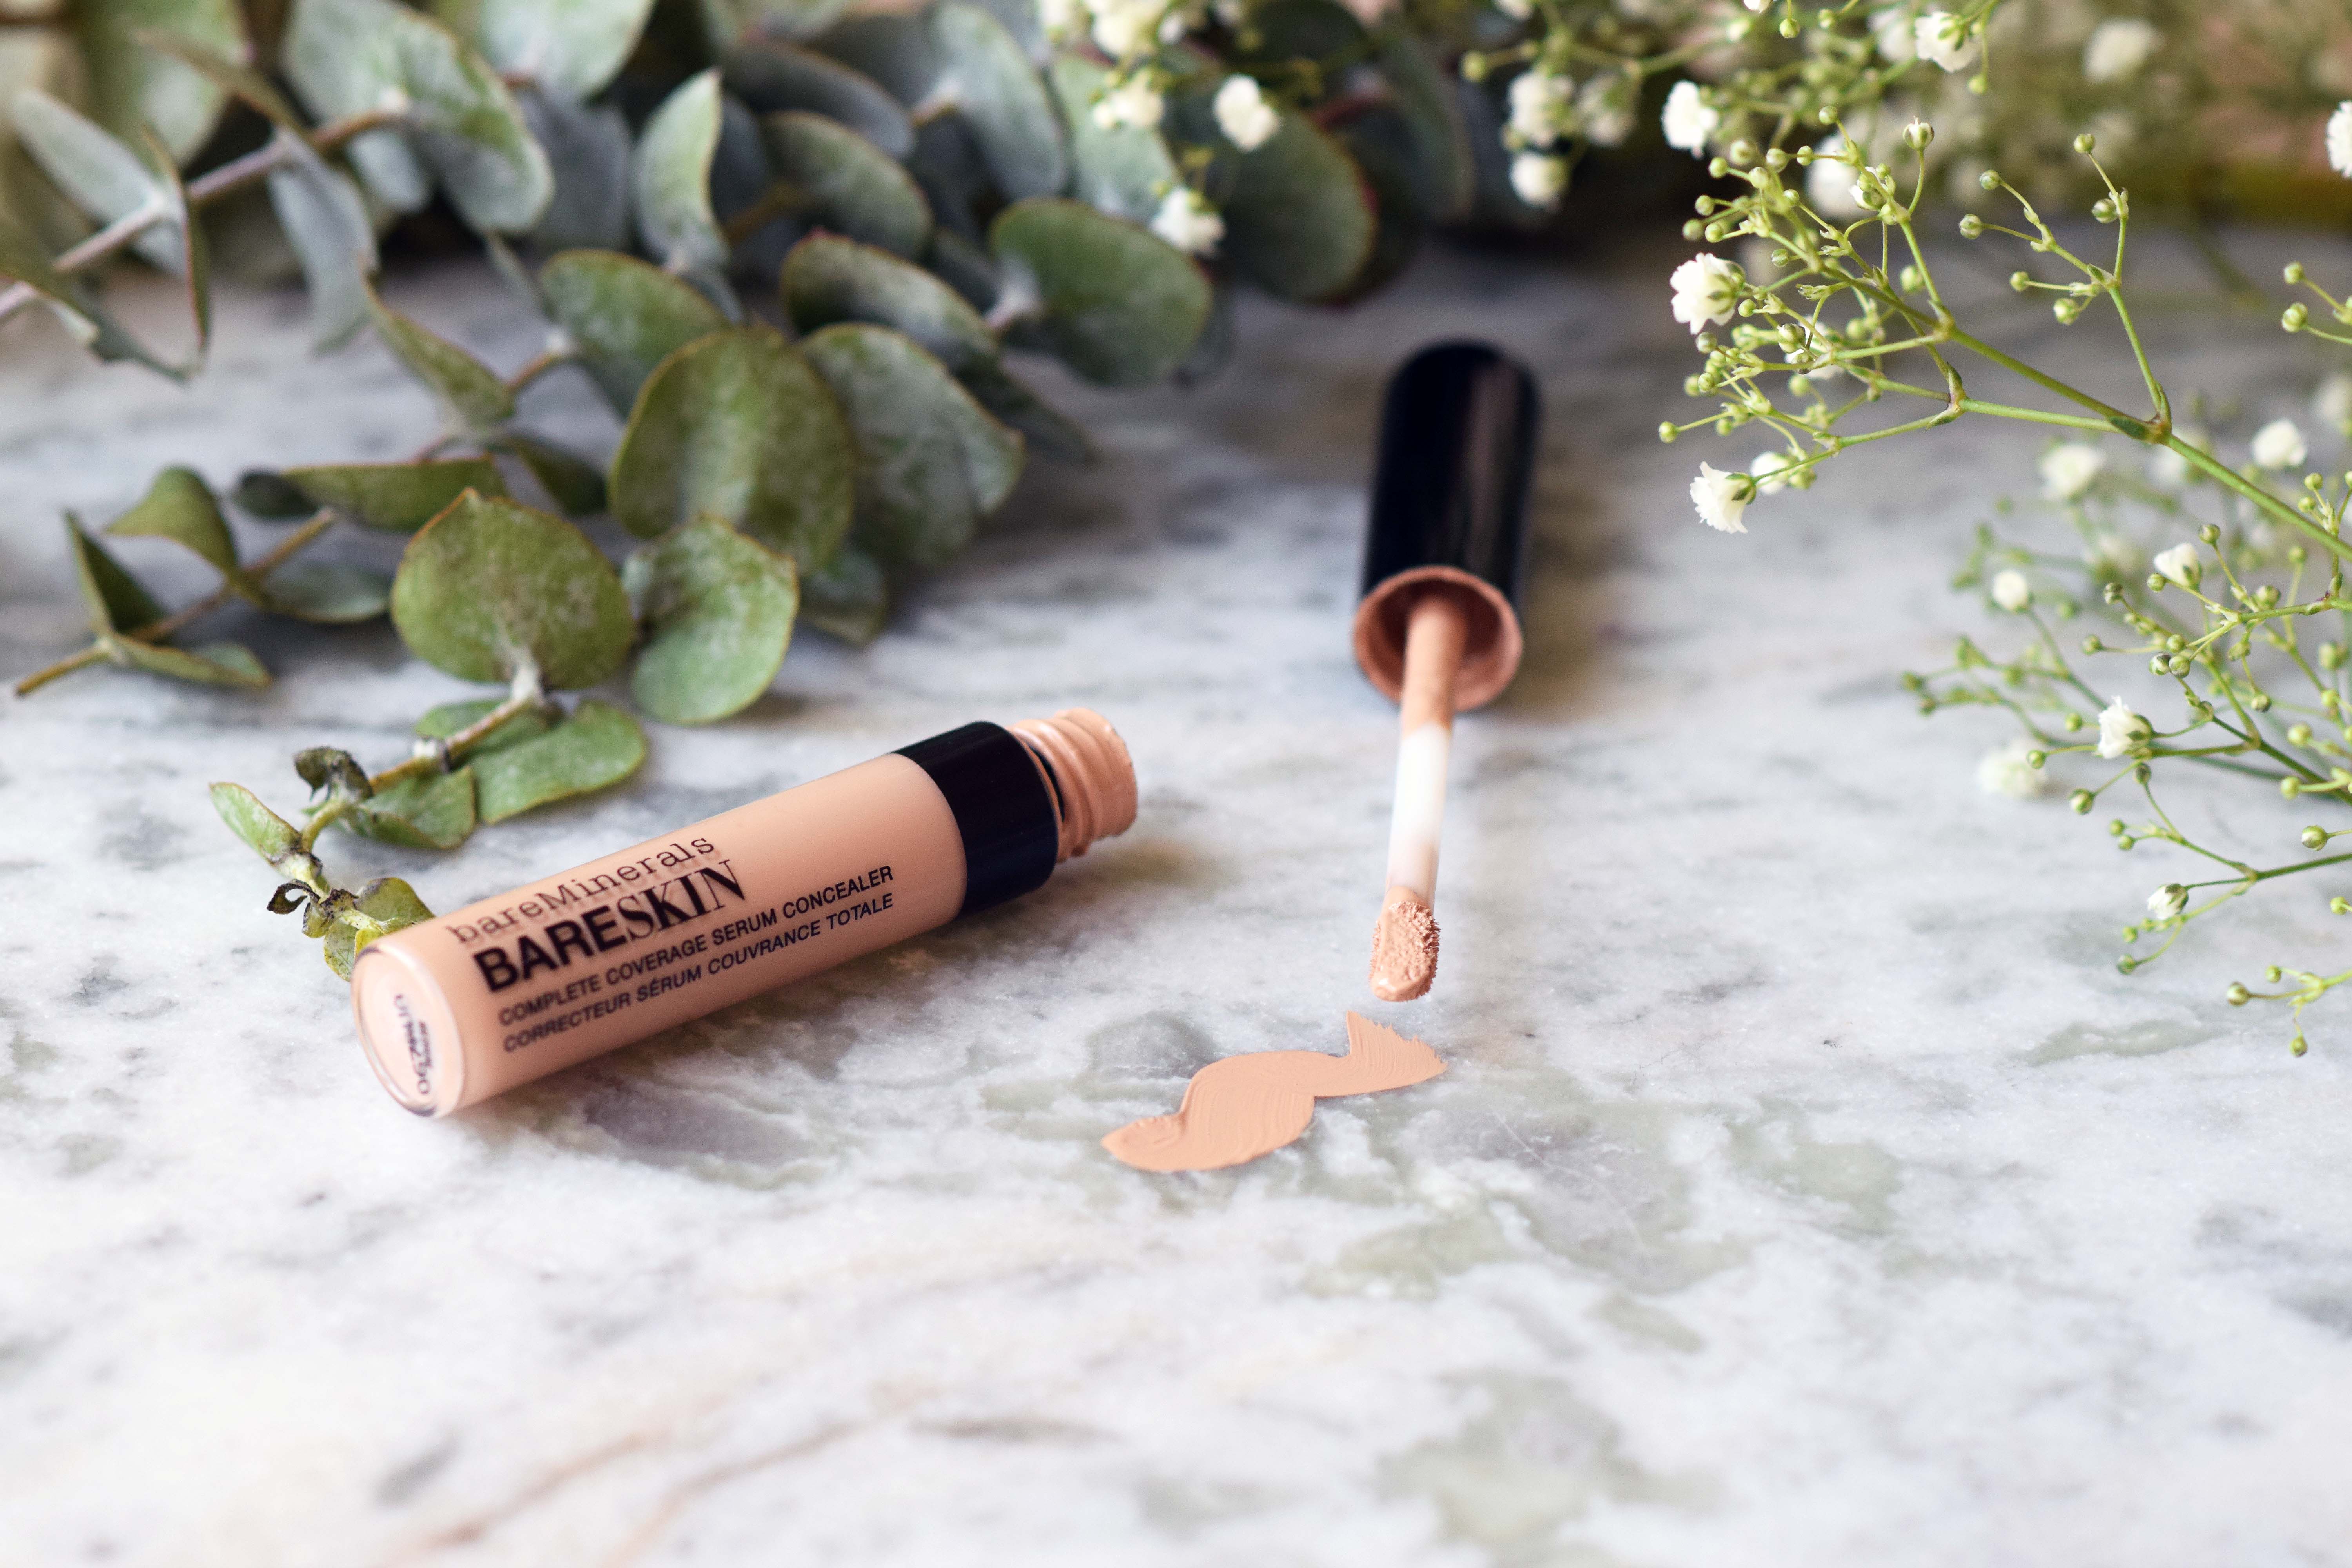
Bare Minerals Bareskin Concealer (in medium)
Step 4 ⇒ Highlight and Contour
Highlighting and countoring isn’t mandatory, but adds structure to the face. Foundation tends to leave it looking one-dimensional and these two products help counteract this effect. I simply start by applying the Becca Shimmering Skin Perfector with my beauty blender on the high points of my cheeks (N.B. Using a liquid highlighter will give you a more natural effect). I then use my CoverGirl Trublend Fixstick (which yes, is technically a concealer) as a countor stick and blend it with my favourite angled brush. Once again, because it is such a creamy product, the effect will be more natural as opposed to a powder.
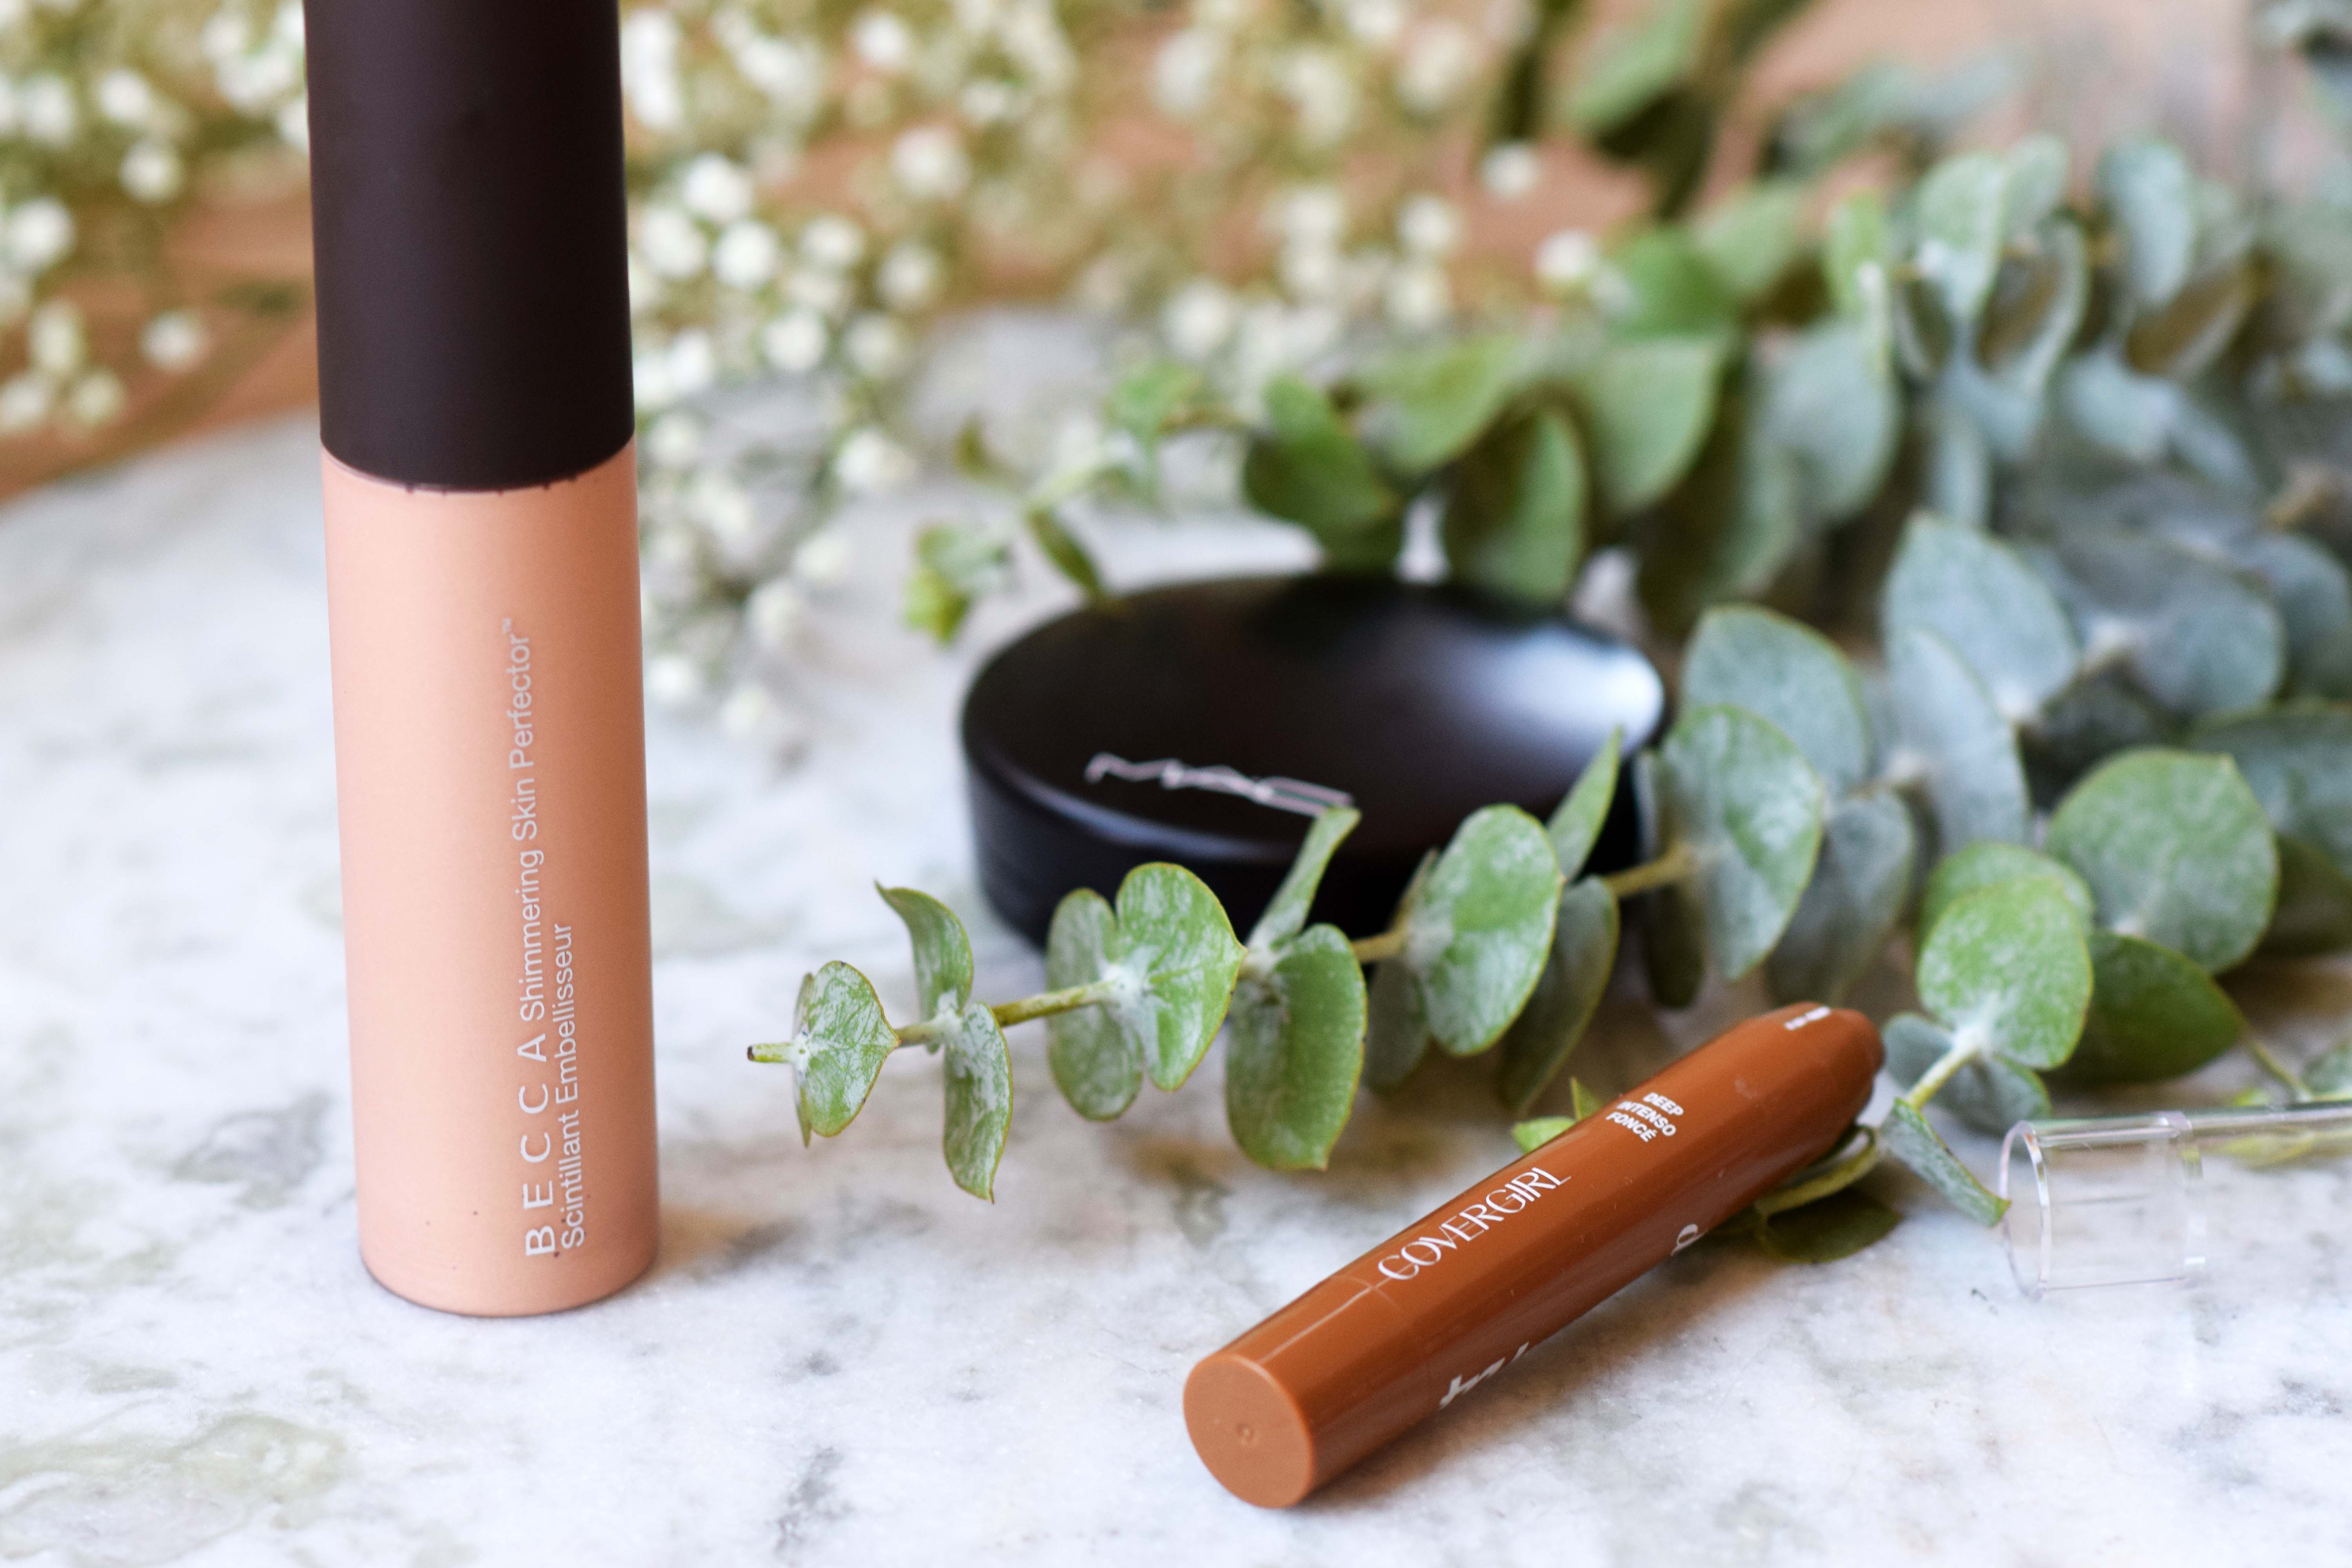
Becca Shimmering Skin Perfector (in Opal) / CoverGirl Trublend Fixstick Concealer (in deep) / Mac Mineralize Skinfinish
And voilà! We now have a perfect (or almost perfect) complexion! You can always set everything with a powder to make it last all day. My personal favourite is the Mac Mineralize Skinfinish, but since my skin tends to be on the dry side, it doesn’t always require this extra step. If you’re looking to obtain a more dewy effect, just use the Urban Decay setting spray once more to lock everything in.